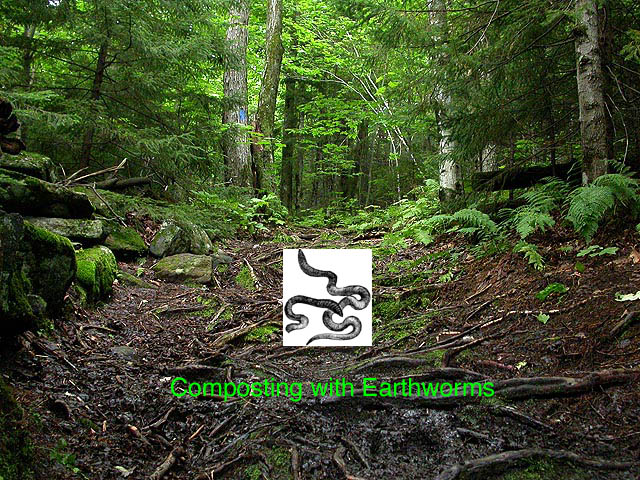
Purpose
To help earthworms transform foodscraps or fish sludge
into a rich fertilizer for plants.
Background
Imagine eating your own weight in food everyday. That's what
the earthworm does. As soil full of partially decomposed organic
matter passes through the earthworm's gut, it is metabolized into
rich castings (manure) that nourish plants. When earthworms burrow
through soil, they make tunnels that bring air, water and their
rich nutrients to plant roots. With earthworms, you can compost
anywhere, on your roof, porch or classroom.
The earthworm is nature's plough; producing the finest fertilizer for plants. In every way, the earthworm surpasses any machine that people have yet invented to plough, to cultivate or to fertilize the soil. Earthworm manure, called vermicompost or castings, is a rich living fertilizer for plants and especially good mixed in potting soil for seedlings. The diversity of microbes in earthworm manure protects against soil disease. The humus in vermicompost holds in and increases the availability of plant nutrients, helps control plant diseases and stimulates healthy plant growth. Vermicompost helps the soil drink in and hold water.
Earthworms can double their population in two to three months. Earthworms are hermaphrodites - each worm is both male and female and can produce fertilized eggs with any other earthworm. Inside the swollen white band on the worm a tiny cocoon is produced. Following fertilization, in about three weeks the cocoon hatches from one to five tiny white baby worms. A mature worm can produce two to three cocoons per week.
Inquiry
Can we find earthworms under leaves in a forest or a moist
shady leaf corner of our schoolyard? Under a pile of old grass
clippings or mulch? Is there a heap of rotted manure in a nearby
farmyard? What are the conditions that earthworms need to thrive?
Observation: When you find earthworms, handle them gently
with moist open hands. Place an earthworm on a tray with moist
soil. Can you identify the anatomical parts of the earthworm?
Source: http://www.naturewatch.ca/english/wormwatch/programs/lp1.html
Materials
Red earthworms (Eisenia fetida), organic bedding material
such as decomposing leaves, old hay, or moist shredded coconut
hulls, a home in a wooden or plastic bin with many air and
drainage holes covered with nylon screen secured with duct tape.
Activity - Earthworm Terrarium - Purpose - To learn the natural conditions in which earthworms thrive.Gather forest soil teeming with life, bugs and earthworms. Place a layer of leaves and twigs on the bottom of a clear container or aquarium, then add the forest soil. Carefully transplant the delicate forest ferns, moss and a rotting log. Cover with a screen to let air circulate while keeping small creatures inside. Mist the terrarium to keep the soil moist but never soggy. Occasionally add small bits of rotting leaves, grass or vegetable foodscraps for the earthworms.
1. Earthworm Habitat: Enlightened zookeepers know that for creatures to thrive in captivity, they need to recreate the wild habitat as closely as possible. Find or build a wooden box and drill holes in the bottom for drainage and on the sides for aeration. Cover bottom holes with nylon screen and tape down the edges with electric or duct tape. Place the box on rocks over plastic for a good air flow. Fill with moist natural bedding (soft rotted trees turning to forest soil, shredded leaves, old plants, old well-rotted farm manure without any smell). Keep bedding light and fluffy. Mix in water as necessary to keep lightly moist, but never soggy. Cover with moss and leaves.
2. Add red wiggler earthworms. Bury small amounts of pre-composted organic foodwaste - vegetable and fruit scraps, tea and coffee grounds that have decomposed in a compost pile for about one month. Soak old bread so it is moist then bury.
3. Care: Don't over feed. Water lightly as needed. Bacteria and other organisms decompose the organic matter. The earthworms eat the semi-decomposed food waste, bedding and bacteria and transform it into humus, a nutrient-rich food for growing healthy plants. An earthworm farm of half a pound of worms needs to be supplied with one-half a pound of organic materials every two days.
Tips:
The best quality vermicompost is produced by feeding red earthworms
partially pre-composted foodscraps, ready after
the thermophilic heating up stage.
It's good to add compost activator-innoculant to speed up the process.
Keep the Balance - Avoid feeding only acidic scraps such as citrus peels. Worms prefer pH-balanced foods, especially breads, cooked grains and vegetables.
Smell? A bad smell indicates the ecosystem is out of balance. If there is uneaten food going rotten - stop feeding for a while. If the bin is too wet, drain by gently tipping. Dig a trench in the middle and sop up excess water with paper towels or a turkey baster, and increase aeration by adding more holes.
Fruitflies? Avoid fruitflies by burying all fruit peels deep under the bedding. If fruitflies are a problem, vacuum up the flies when you open the bin, bury fruitscraps deep under and trap any remaining flies by putting sweet soft drink in a jar or cup. Tape the corner of a plastic bag over the rim with a hole in the corner that protrudes downward. Avoid adding fruit scraps if the flies continue to be a problem.
Harvesting Vermicompost - When you want to harvest the vermicompost for use, either:
- spread out the vermicompost on a tarp and shine a bright light on the surface. The earthworms will escape away from the light and dryness. Skim off the upper layer of castings. Repeat till the worms are concentrated in the bottom. Mix vermicompost in with potting soil for seedlings or straight into the garden. Or
- Place a nylon net on the vermicompost surface that is covered with moist, freshly decomposed foodscraps and old hay, etc. The hungry earthworms will migrate up to this new layer of food. Repeat till the worms are out.
Outdoor Earthworm Composting
Dig a trench of any size in a location where you plan a garden
next season. Bury your vegetable foodscraps. Add earthworms if
you have them, or wait and they will come. Cover with leaves and
soil. Keep watered. Next season, plant right in the trench-bed
and continue or start a new trench next to the old one.
